Peanut Butter Butterfinger Cookies
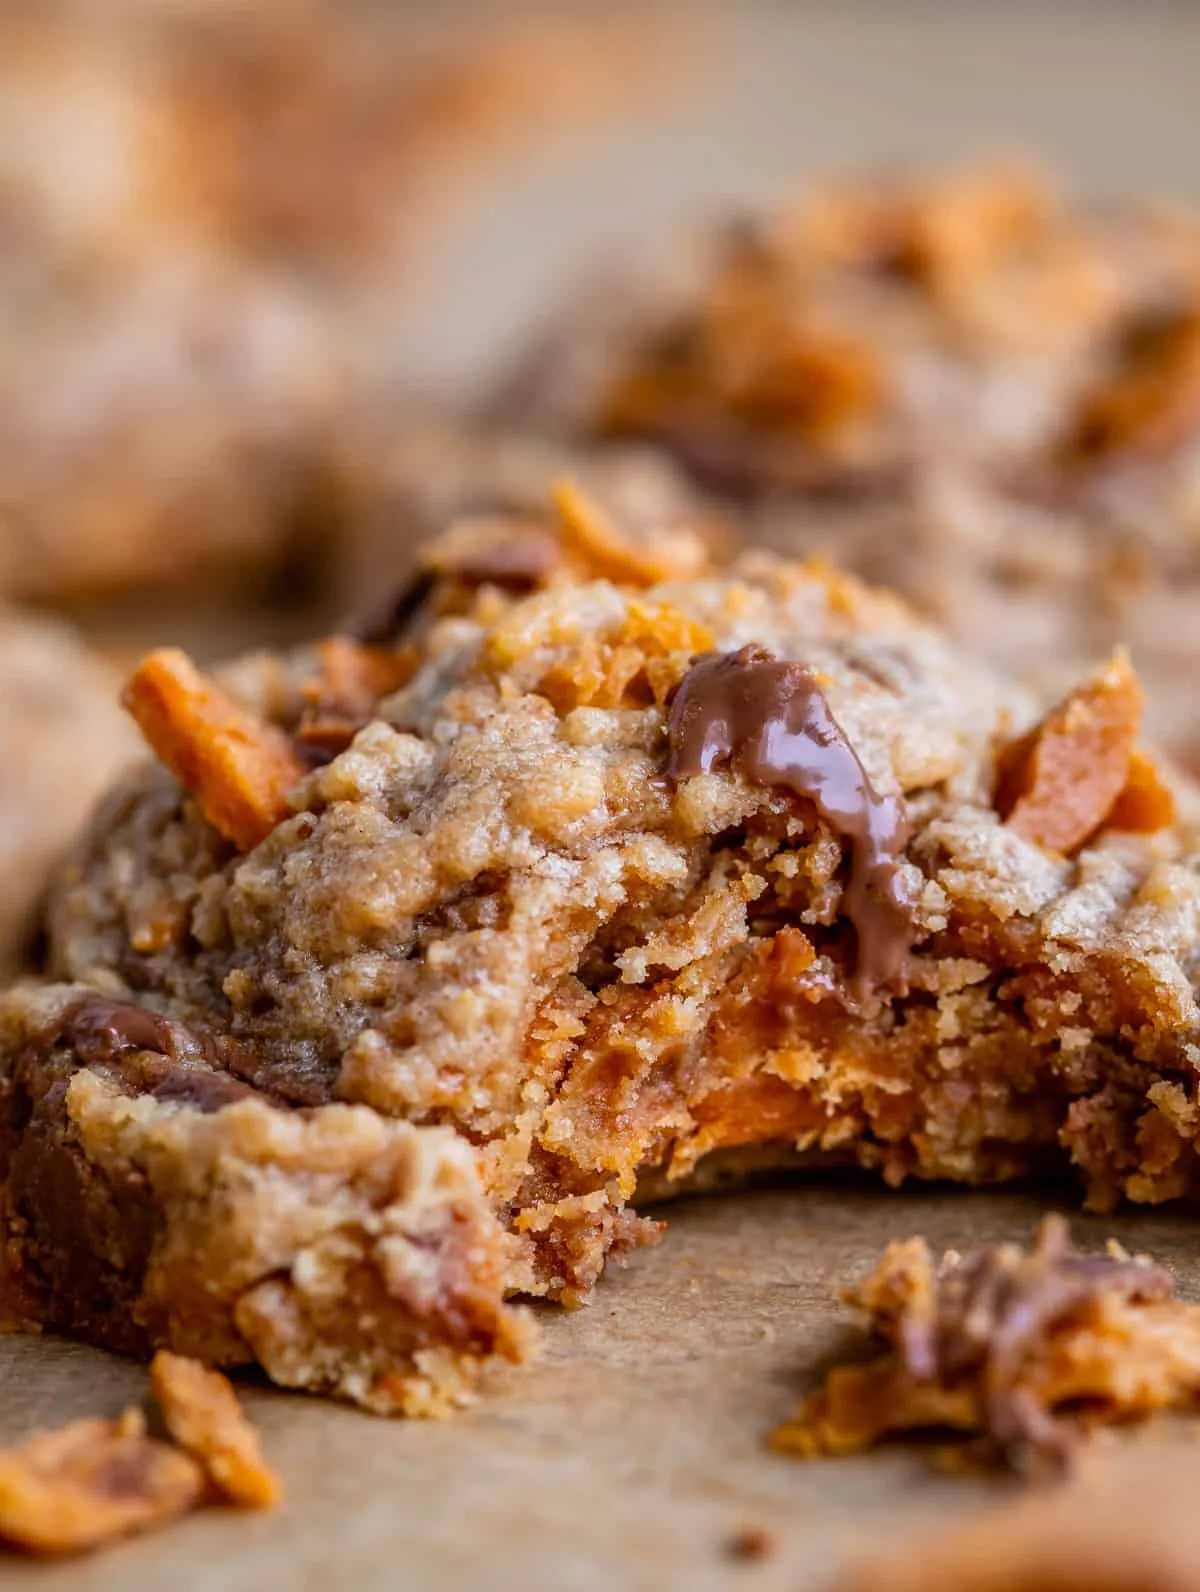
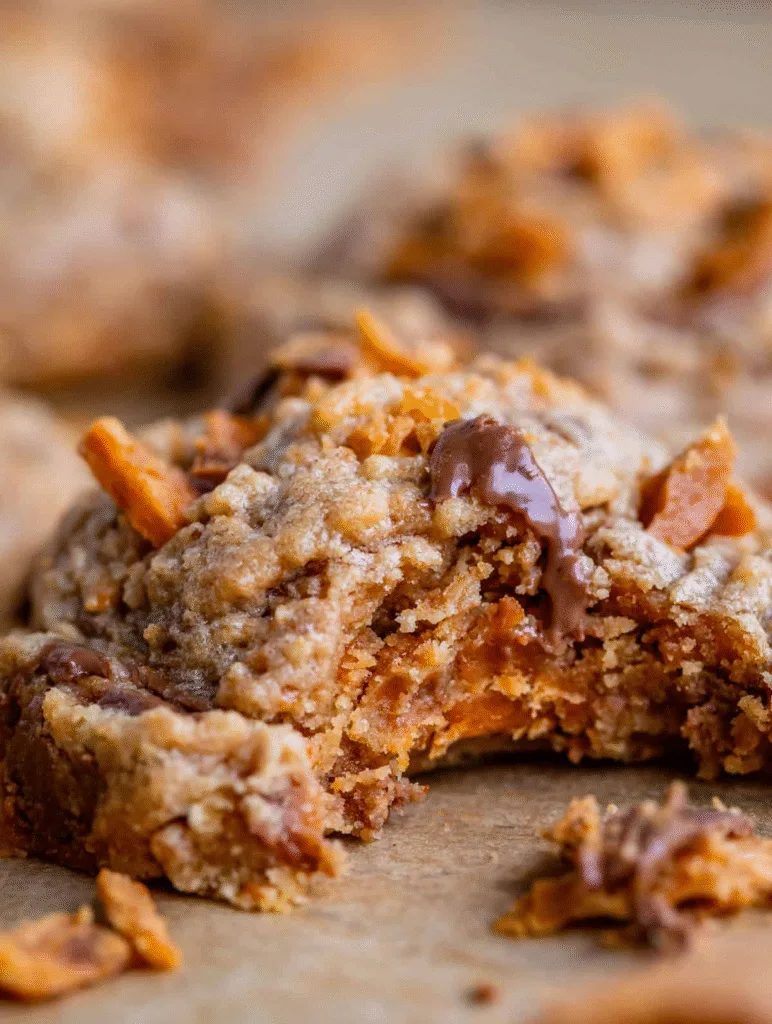
These Peanut Butter Butterfinger Cookies are ultra-soft, thick peanut butter cookies packed with crunchy, caramelized Butterfinger candy pieces. The combination creates a rich, nutty base with crispety, crunchety toffee-like bits that melt slightly into the dough while still maintaining crunch. The result is a bakery-style cookie that tastes like a peanut brittle–peanut butter hybrid with a nostalgic candy bar twist.
Why You’ll Love This Recipe
- Ultra-Thick Bakery Texture — Soft, puffy cookies with chewy centers and lightly crisp edges.
- Candy Bar Crunch in Every Bite — Butterfinger pieces add a unique brittle-like texture and caramelized peanut flavor.
- Deep Peanut Butter Flavor — Creamy peanut butter creates rich, nutty depth throughout the dough.
- Perfect Sweet-Salty Balance — Brown sugar, peanut butter, and candy pieces balance sweetness with savory undertones.
- Make-Ahead Friendly Dough — Chill the dough for better flavor and easier shaping.
- Freezer-Friendly Cookies — Dough or baked cookies freeze well for long-term storage and convenience.
Ingredients You’ll Need
Cookie Dough Base
- 3/4 cup butter, softened — provides richness, structure, and soft cookie texture
- 1/2 cup granulated sugar — adds sweetness and helps create crisp edges
- 1/2 cup packed brown sugar — adds moisture, chewiness, and caramel depth
- 1 cup creamy peanut butter (not natural) — creates signature peanut flavor and soft structure
- 1 large egg — binds ingredients and adds structure
- 1 1/2 teaspoons vanilla extract — enhances sweetness and overall flavor balance
Dry Ingredients
- 1 1/2 cups all-purpose flour — provides structure and stabilizes dough
- 1/2 teaspoon baking soda — helps cookies rise and spread properly
- 1/2 teaspoon baking powder — adds lift for a thick, soft texture
- 1/4 teaspoon kosher salt — balances sweetness and enhances peanut flavor
Mix-In
- 16 ounces Butterfinger candy, chopped — adds crunchy, peanut-brittle texture and caramelized sweetness throughout the cookie
Step-by-Step Instructions
1. Cream Butter and Sugars
Beat softened butter until smooth, then add granulated and brown sugar. Mix for about 2 minutes until light and fluffy for proper aeration.
2. Add Peanut Butter
Mix in peanut butter until fully incorporated, scraping down the bowl to ensure a smooth, even base.
3. Add Egg and Vanilla
Beat in the egg and vanilla extract until the mixture is fully combined and creamy in texture.
4. Mix Dry Ingredients
Add flour, baking soda, baking powder, and salt on top of the wet mixture. Stir gently into the dough until just combined to avoid overworking.
5. Add Butterfinger Pieces
Fold in chopped Butterfinger pieces until evenly distributed, being careful not to overmix so the candy remains intact.
6. Chill the Dough
Cover and refrigerate for at least 15 minutes (or up to 24 hours) to firm the dough and deepen flavor.
7. Shape and Bake
Preheat oven to 350°F and roll dough into 2-inch balls. Bake for about 10 minutes until edges are set and centers are no longer shiny.
8. Cool and Set
Allow cookies to rest on the baking sheet for 5 minutes before transferring to a rack to finish cooling and firm up.
Recipe Notes & Tips
- Don’t Overmix Dough — Overworking flour leads to dense, tough cookies instead of soft, thick texture.
- Chill for Better Structure — Even a short chill improves flavor and makes sticky dough easier to handle.
- Use Creamy Peanut Butter Only — Natural peanut butter can cause separation and inconsistent texture.
- Watch Bake Time Closely — Cookies continue to set after baking; avoid overbaking for softness.
- Press Slightly If Needed — If cookies don’t spread, gently flatten after baking for ideal shape.
- Add Extra Candy on Top — Press Butterfinger bits onto warm cookies for extra crunch and visual appeal.
Nutritional Information
- Prep Time: 15 minutes
- Chilling Time: 15–60 minutes
- Cook Time: 10 minutes
- Total Time: 40 minutes (approx.)
- Servings: ~25 cookies
- Calories: ~169 kcal per cookie (estimated)
Perfect Pairings
- Cold milk or chocolate milk for a classic cookie pairing
- Hot coffee or espresso to balance sweetness
- Vanilla ice cream for a dessert sandwich
- Salted caramel latte for a rich flavor contrast
Ideal Occasions
- Holiday cookie trays and dessert platters
- Bake sales or gifting occasions
- Casual weekend baking projects
- Party desserts or sweet snack spreads
Storage & Serving Tips
- Store in an airtight container at room temperature for up to 3 days
- Freeze baked cookies for up to 1 month for longer storage
- Freeze dough balls and bake directly from frozen (add 1–2 minutes bake time)
- Let cookies cool fully before storing to preserve texture
Creative Variations to Try
- Add chocolate chips for extra chocolate-peanut butter richness
- Mix in crushed pretzels for salty crunch contrast
- Drizzle melted chocolate over cooled cookies for a dessert finish
- Use white chocolate Butterfinger-style candies for a sweeter variation
Troubleshooting Common Issues
- Cookies Too Flat — Butter too warm or dough not chilled long enough
- Cookies Too Dry — Overbaked or too much flour added
- Candy Melts Too Much — Overbaking; reduce bake time slightly
- Dough Too Sticky — Chill longer before shaping
Why This Recipe Works
This recipe works because the combination of butter, brown sugar, and peanut butter creates a stable, rich cookie base with both structure and moisture. The addition of both baking soda and baking powder ensures controlled spread while maintaining a thick, bakery-style lift. Butterfinger pieces introduce brittle-like sugar crystals and peanut flavor that partially melt during baking, creating pockets of crunch and caramelized sweetness throughout the cookie. At approximately 169 calories per cookie, they deliver a dense, indulgent treat with balanced fat, sugar, and texture contrast.
Final Thoughts
Peanut Butter Butterfinger Cookies are a nostalgic, indulgent dessert that combines creamy peanut butter richness with the crunch of a classic candy bar. They’re simple to prepare yet deliver bakery-level texture and flavor, making them perfect for sharing or storing for later. With minor adjustments like added chocolate or salt, they can easily be customized while maintaining their signature soft, chunky, candy-studded appeal.